
Phone numbers are essential for making and receiving calls in VoxPria. Moreover, managing them properly ensures smooth operations. In this guide, we’ll show you everything you need to know about phone number management.
Why You Need a Phone Number #
VoxPria requires a phone number for outbound calls. Additionally, numbers are used for:
- Caller ID – What recipients see when you call
- Inbound Calls – Receiving customer calls
- SMS Messages – Sending and receiving texts
- Compliance – Meeting regulatory requirements
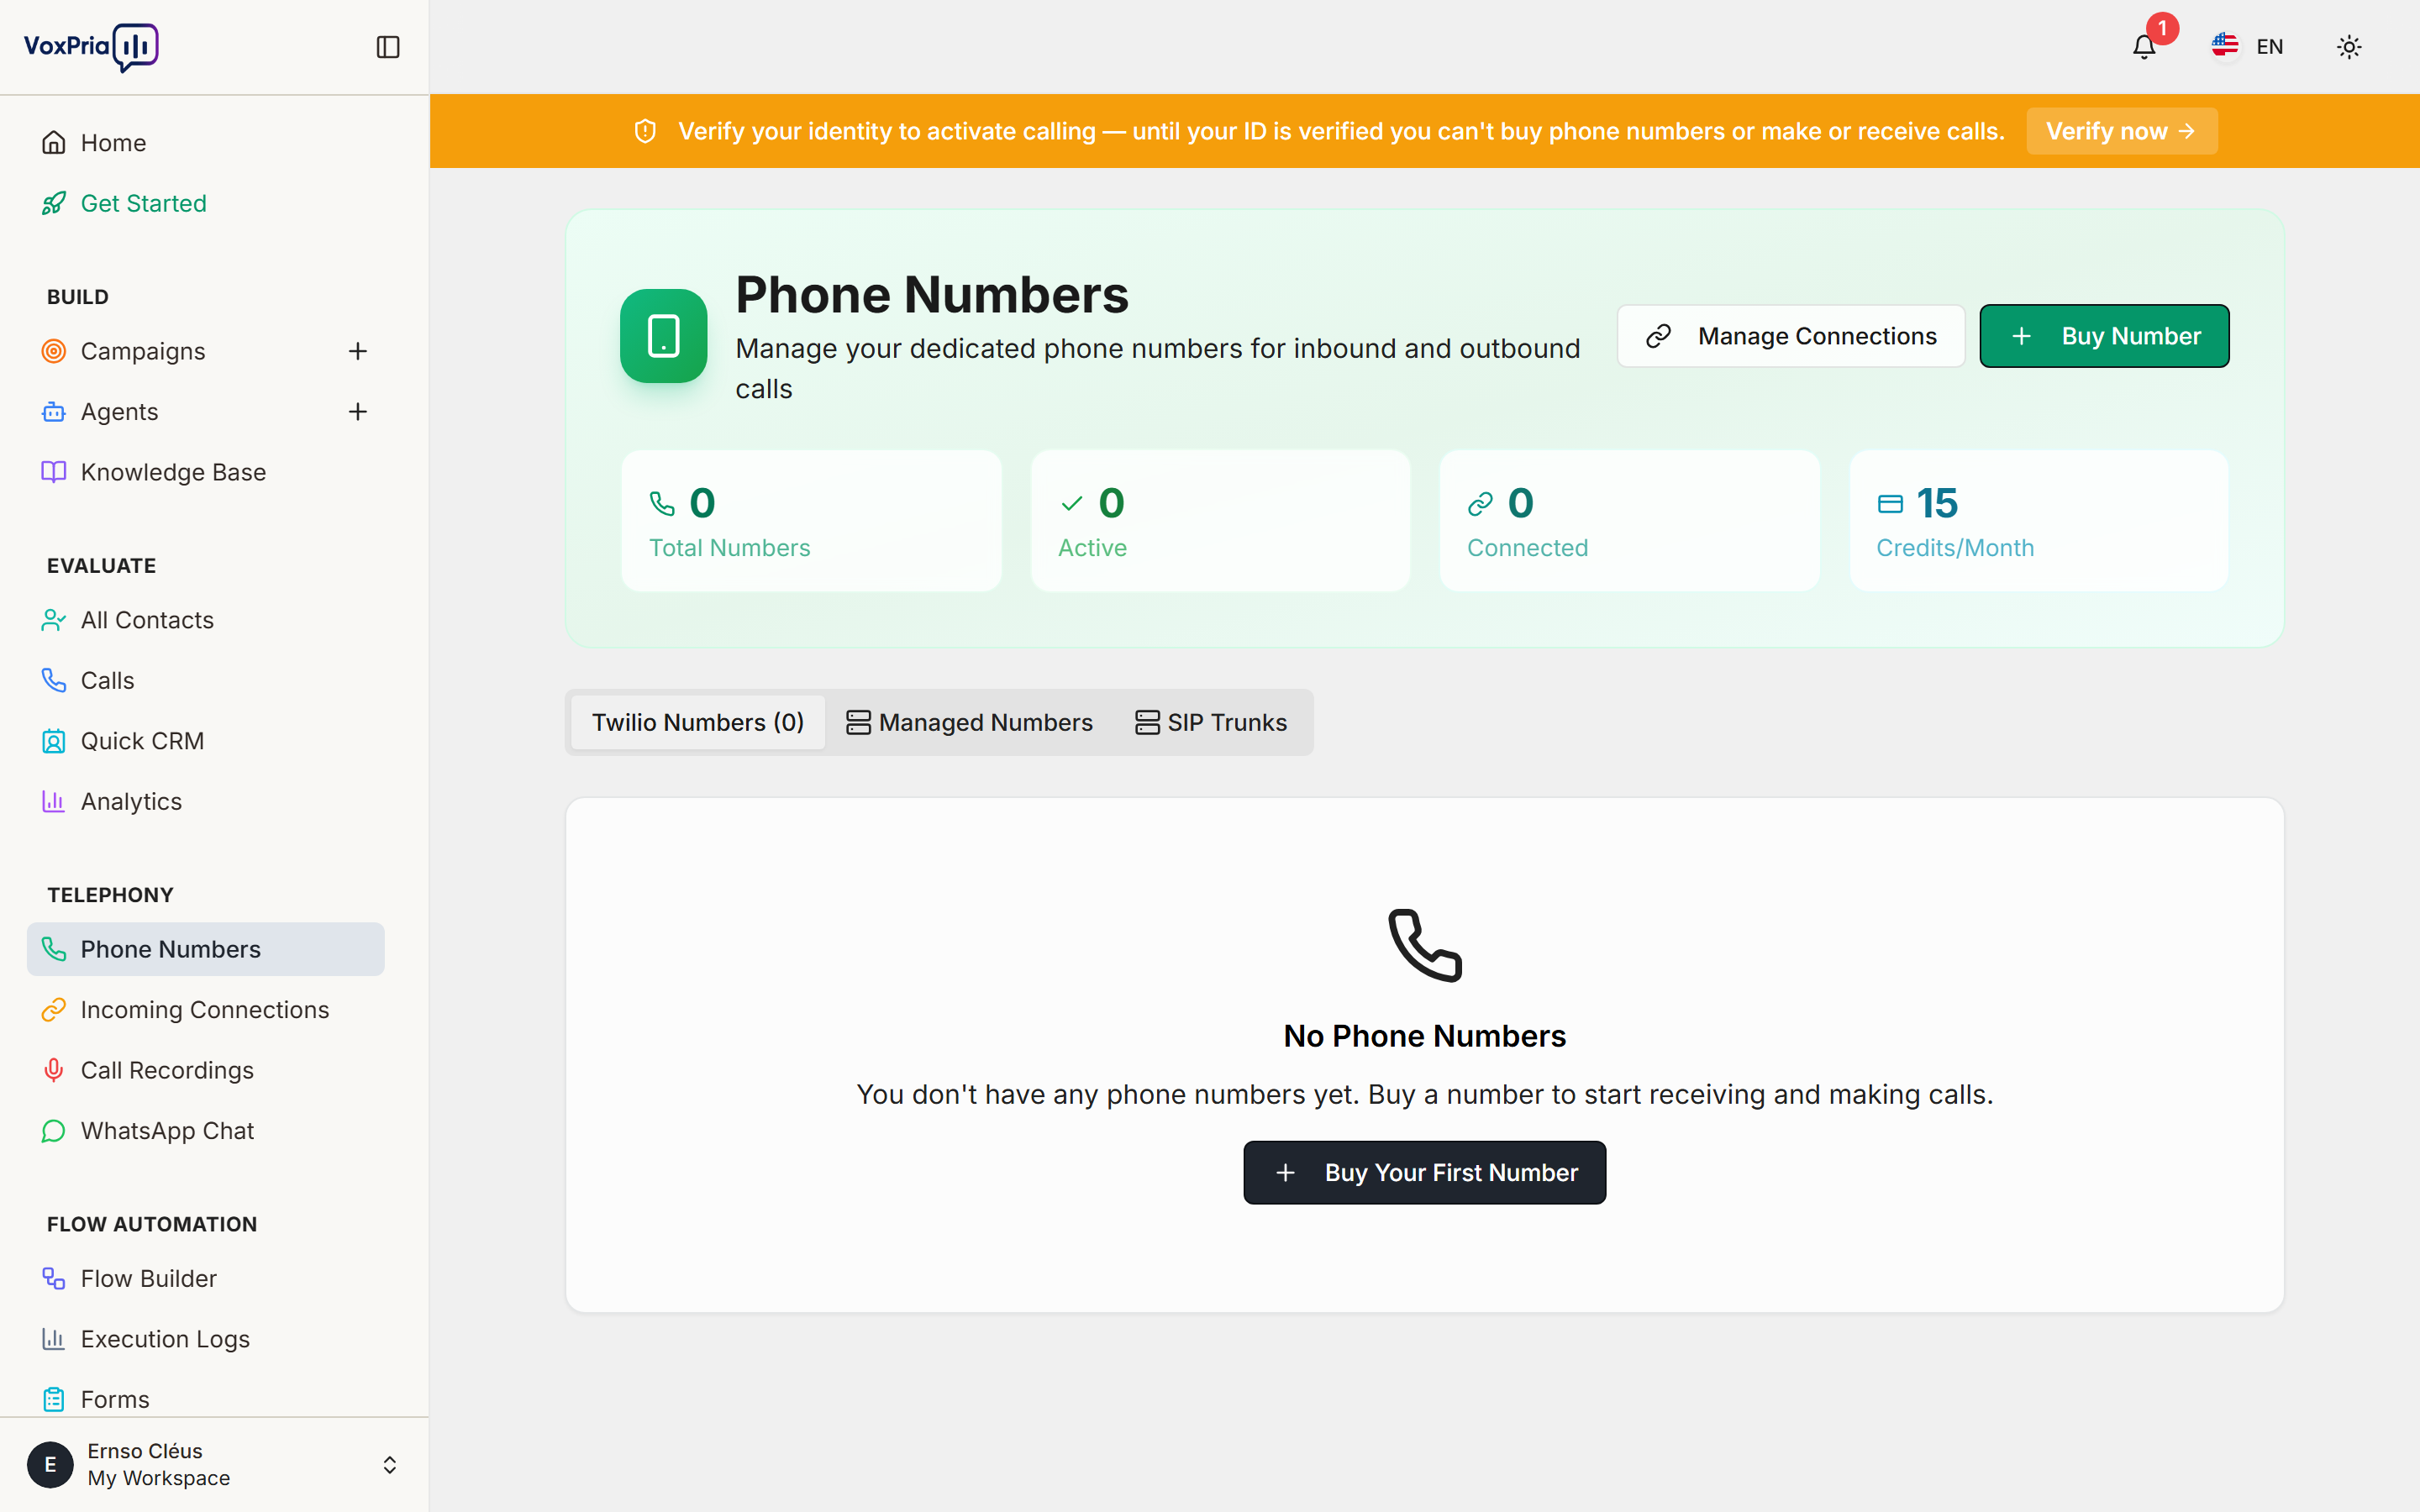
Accessing Phone Number Management #
First, navigate to the phone numbers section. Furthermore, this is where all number management happens:
- Go to TELEPHONY → Phone Numbers
- You’ll see your current numbers (if any)
- Click “Purchase Number” to buy new numbers
Purchasing a Phone Number #
Buying a phone number is quick and easy. Moreover, VoxPria offers numbers from many countries:
Step-by-Step Purchase: #
- Click “Purchase Number”
- Select country (US, UK, Canada, etc.)
- Choose area code (optional)
- Browse available numbers
- Click “Purchase” next to desired number
- Confirm purchase (10 credits/month)
- Number is yours immediately
💡 Pro Tip: Choose local area codes to increase answer rates. Therefore, customers are more likely to answer familiar local numbers.
Number Types #
VoxPria offers different number types. Additionally, each type has specific uses:
- Local Numbers – Standard area code numbers (e.g., +1-555-123-4567)
- Toll-Free – 800, 888, 877 numbers (higher cost)
- International – Numbers from other countries
Configuring Numbers #
After purchasing, configure how your number works. Furthermore, proper configuration ensures calls route correctly:
- Click on your phone number
- Configure these settings:
- Friendly Name – Internal label (e.g., “Main Line”)
- Usage Type – Outbound, Inbound, or Both
- Default Agent – Which agent answers inbound calls
- Fallback Number – Where to forward if agent unavailable
- Click “Save Settings”
Using Numbers in Campaigns #
When creating campaigns, you’ll select which number to use. Moreover, you can use different numbers for different campaigns:
- Create or edit a campaign
- Go to Campaign Settings
- Find “Caller ID” section
- Select phone number from dropdown
- Save campaign
Incoming Call Setup #
Configure how your number handles incoming calls. Additionally, this enables 24/7 automated support:
- Go to TELEPHONY → Incoming Connect
- Select your phone number
- Choose action:
- Answer with Agent – AI answers calls
- Forward to Number – Transfer to your phone
- Send to Voicemail – Take messages
- Run Flow – Execute automation
- Configure business hours
- Set after-hours behavior
- Save configuration
Number Costs #
Understanding costs helps with budgeting. Moreover, different number types have different pricing:
- Local Numbers – 10 credits/month
- Toll-Free Numbers – 20 credits/month
- International Numbers – Varies by country
Note: Monthly rental charges automatically on the 1st of each month.
Releasing Numbers #
If you no longer need a number, you can release it. However, consider the implications:
- Go to TELEPHONY → Phone Numbers
- Click on the number to release
- Click “Release Number”
- Confirm release
- Number returns to inventory immediately
⚠️ Warning: Once released, you cannot get the same number back. Therefore, only release numbers you’re certain you don’t need.
Best Practices #
- ✅ Use Local Numbers – Higher answer rates than toll-free
- ✅ One Number Per Campaign Type – Track performance better
- ✅ Configure Backup – Always set fallback forwarding
- ✅ Test Inbound – Call your number to verify setup
- ✅ Monitor Usage – Track which numbers perform best
Related Articles:


