
While bulk imports are common, sometimes you need to add contacts individually. Moreover, manual entry is perfect for small lists or single VIP contacts. In this guide, we’ll show you how to add contacts manually and manage them effectively.
When to Add Contacts Manually #
Manual entry makes sense in these situations. Additionally, it gives you more control over data quality:
- Small Lists – 10 or fewer contacts
- VIP Contacts – Important individuals needing special attention
- Quick Tests – Adding yourself for testing
- One-Off Calls – Single urgent contacts
- Data Verification – When you want to ensure accuracy
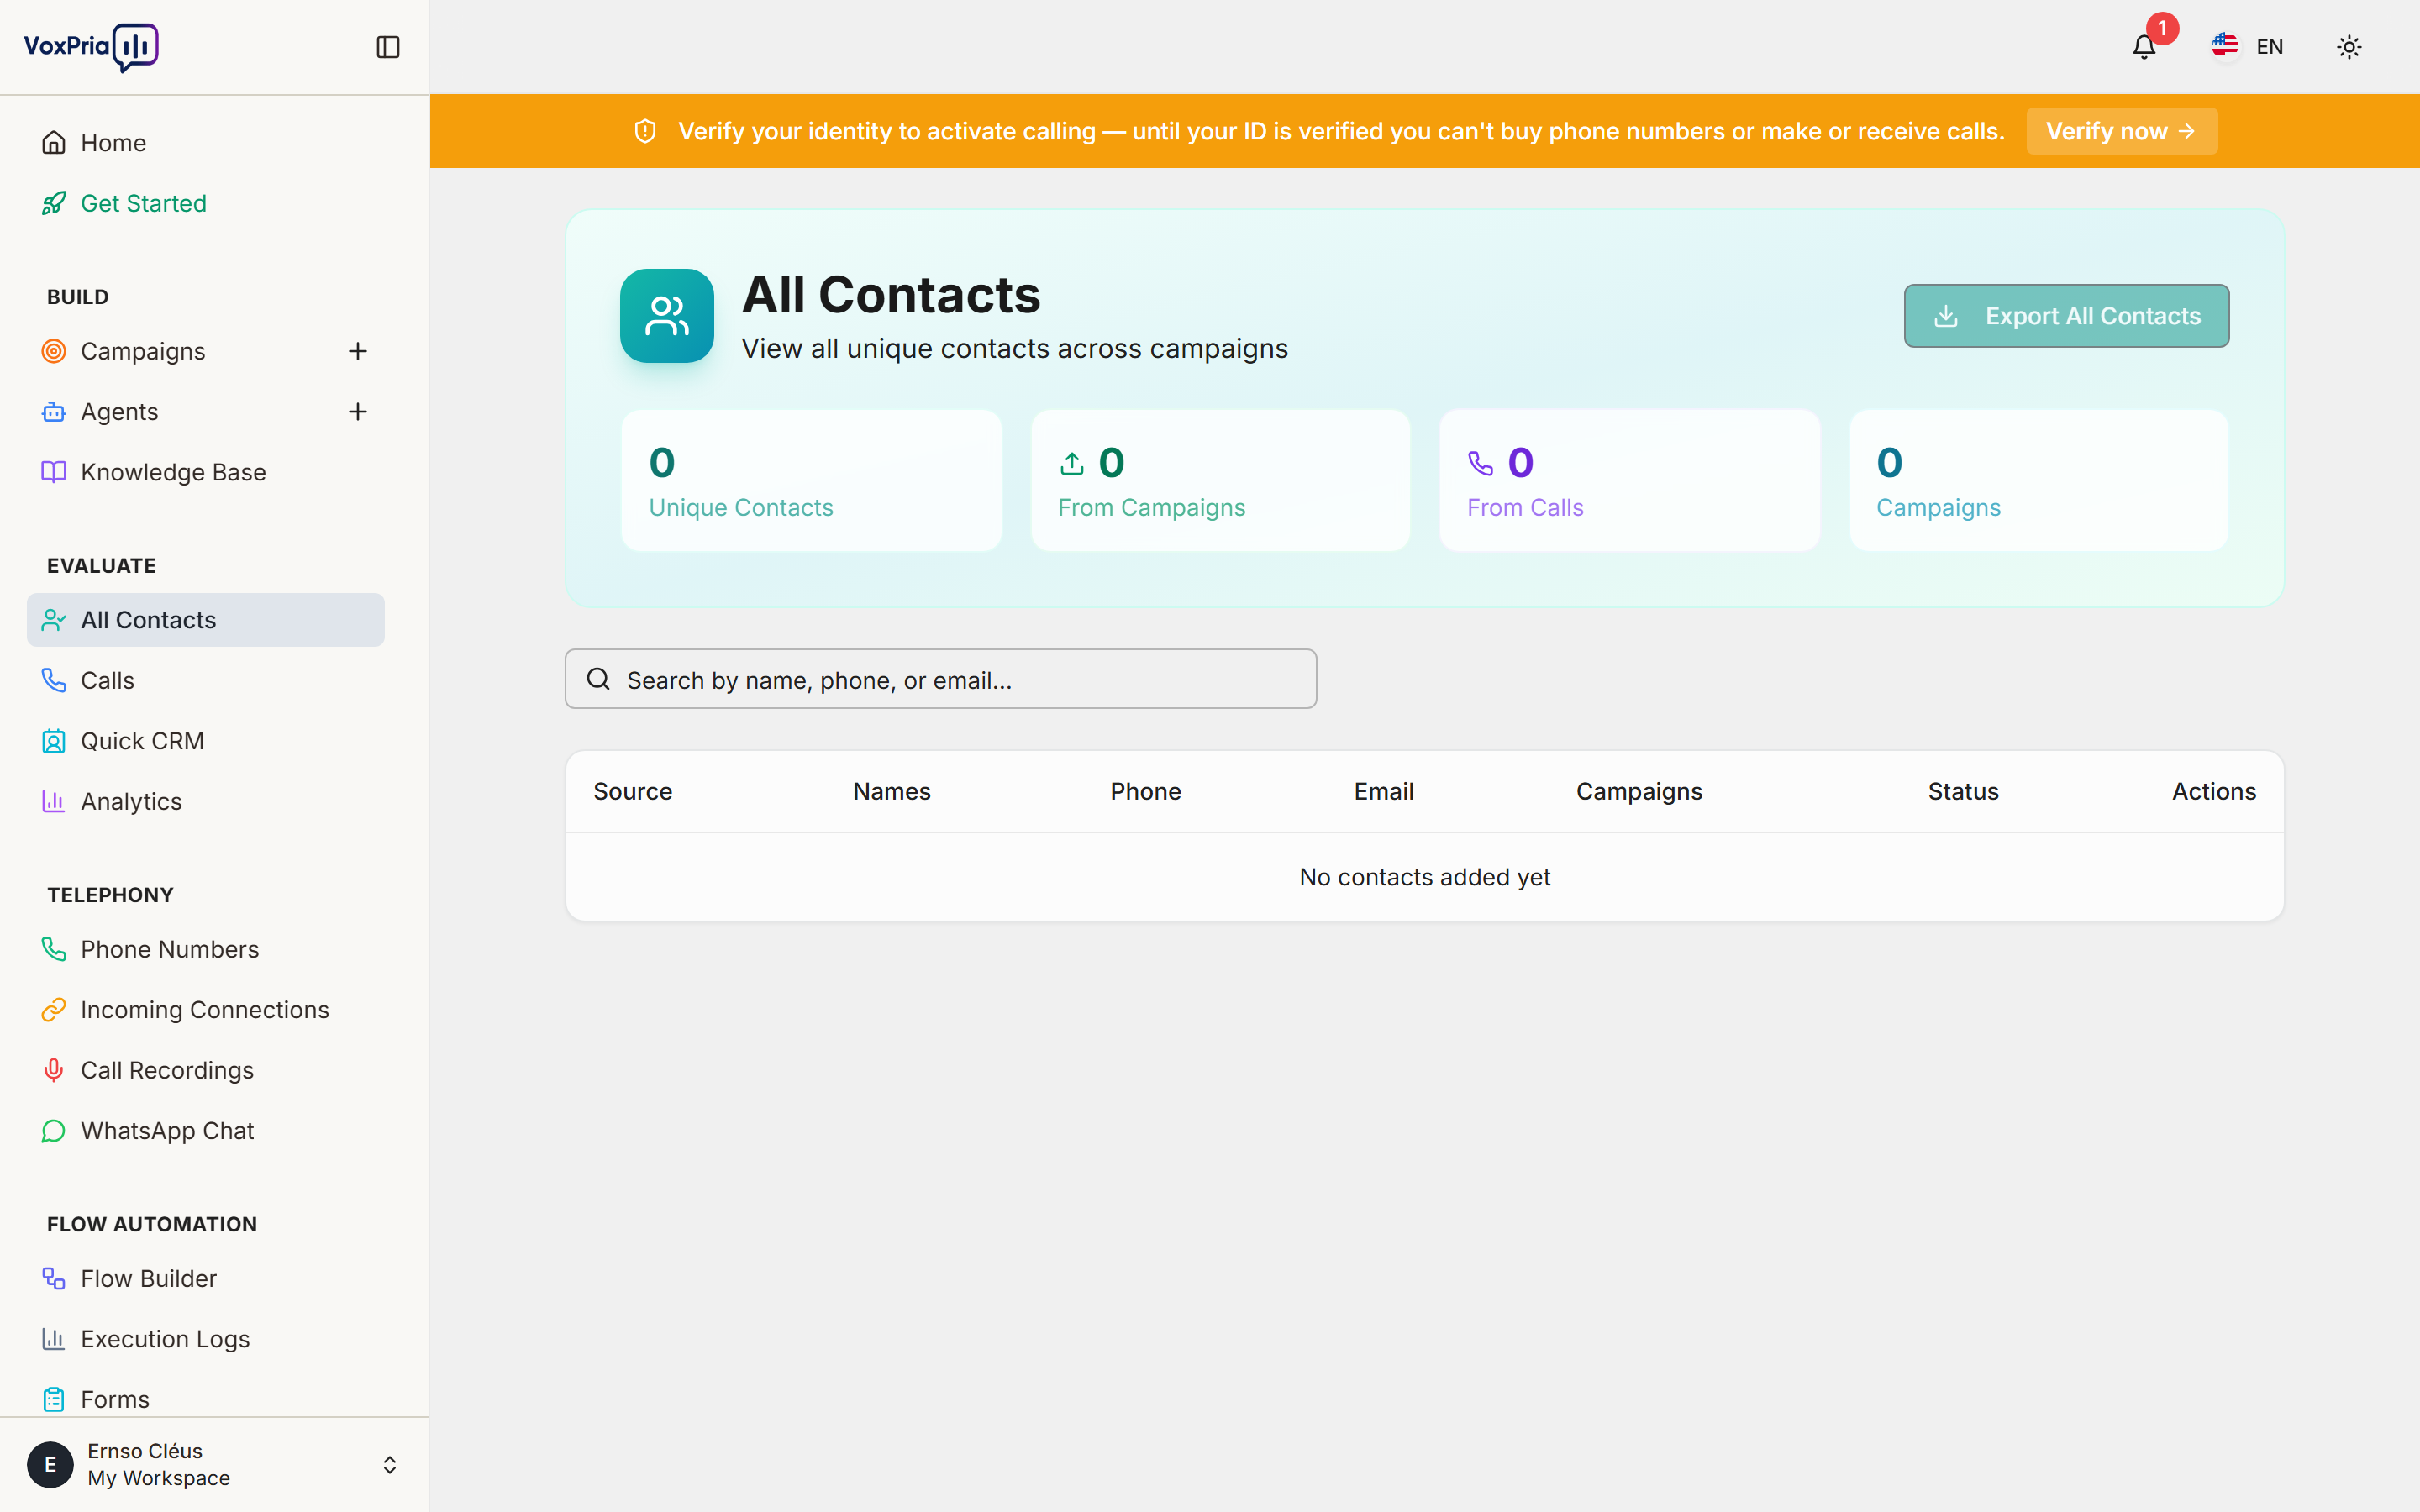
Accessing Contact Creation #
First, navigate to the contacts section. Furthermore, this is where all your contact management happens:
- Go to EVALUATE → All Contacts
- Click the “Add Contact” button (top right)
- Select “Manual Entry” from the dropdown
- The contact creation form appears
Required Fields #
Only the phone number is absolutely required. However, adding more information improves personalization:
Essential Information: #
- Phone Number – Required (format: +1234567890)
- First Name – Highly recommended
- Last Name – Recommended
- Email – Optional but useful for follow-ups
Phone Number Format #
Phone numbers must be in E.164 format. Moreover, this international standard ensures calls connect properly:
Format Rules: #
- Start with + – Plus sign indicates international format
- Country Code – Include country code (US is +1)
- No Spaces or Dashes – Remove all formatting
- No Parentheses – Remove ( and )
Examples: #
- ✅ Correct:
+15551234567 - ❌ Wrong:
(555) 123-4567 - ❌ Wrong:
555-123-4567 - ❌ Wrong:
5551234567(missing country code)
💡 Pro Tip: VoxPria’s form auto-formats as you type. Therefore, you can enter numbers naturally and it converts them.
Optional Fields #
Additional fields enhance personalization. Furthermore, agents can use this data in conversations:
- Company – Business name
- Job Title – Contact’s position
- Language – Preferred language
- Timezone – For optimal call timing
- Tags – Categorize contacts (VIP, Lead, Customer, etc.)
- Notes – Any relevant information
Custom Fields #
Create custom fields for your specific needs. Moreover, these fields can be used in agent scripts:
Adding Custom Fields: #
- Scroll to “Custom Fields” section
- Click “Add Custom Field”
- Enter field name (e.g., “Appointment Date”, “Account Number”)
- Choose field type: Text, Number, Date, Yes/No
- Enter value
- Click “Add”
Example Custom Fields: #
appointment_date– For reminder campaignsaccount_number– For customer servicelast_purchase– For sales campaignsmembership_level– For segmentation
Adding Contact to Campaigns #
While creating a contact, you can add them to campaigns immediately. Additionally, this saves time if you know where they’ll be used:
- Scroll to “Campaign Assignment”
- Check boxes next to relevant campaigns
- Contact is added to those campaigns when saved
Setting Communication Preferences #
Respect contact preferences from the start. Furthermore, this helps with compliance:
- Opt-In Status – Confirmed consent to call
- Do Not Call – Never contact this number
- Best Time to Call – Preferred hours
- Max Attempts – How many times to try calling
Saving the Contact #
After filling in all information, save your contact:
- Review all fields for accuracy
- Click “Save Contact” button
- Confirmation message appears
- Contact is now available in your database
Options after saving:
- “Save & Add Another” – Create another contact immediately
- “Save & View” – See the contact’s detail page
- “Save & Add to Campaign” – Assign to campaign after saving
Editing Existing Contacts #
You can update contact information anytime. Moreover, changes sync across all campaigns:
- Go to EVALUATE → All Contacts
- Search for or find the contact
- Click the contact name
- Click “Edit” button
- Make changes
- Click “Save Changes”
Deleting Contacts #
If you need to remove a contact permanently:
- Open the contact’s detail page
- Click “Actions” dropdown
- Select “Delete Contact”
- Confirm deletion
- Contact is removed from all campaigns and lists
⚠️ Warning: Deletion is permanent and cannot be undone. Therefore, consider using “Do Not Call” status instead if unsure.
Best Practices #
- ✅ Verify Numbers – Double-check phone numbers for accuracy
- ✅ Add Names – Always include first name at minimum
- ✅ Use Tags – Organize contacts with relevant tags
- ✅ Set Timezone – Ensure calls happen at appropriate times
- ✅ Document Consent – Note how you obtained permission to call
Related Articles:


